Upload Basics
This page covers the fundamental concepts and procedures for uploading files to the MagnoliaEd platform as an instructor.

Overview
The file upload system allows instructors to share educational materials, assignments, and resources with their students. This includes documents, presentations, videos, audio files, and more.
Getting Started
Accessing the Upload Feature
- Navigate to your instructor dashboard
- Select the course you want to upload materials to
- Click on the “Upload Files” button or drag and drop files directly
Basic Upload Process
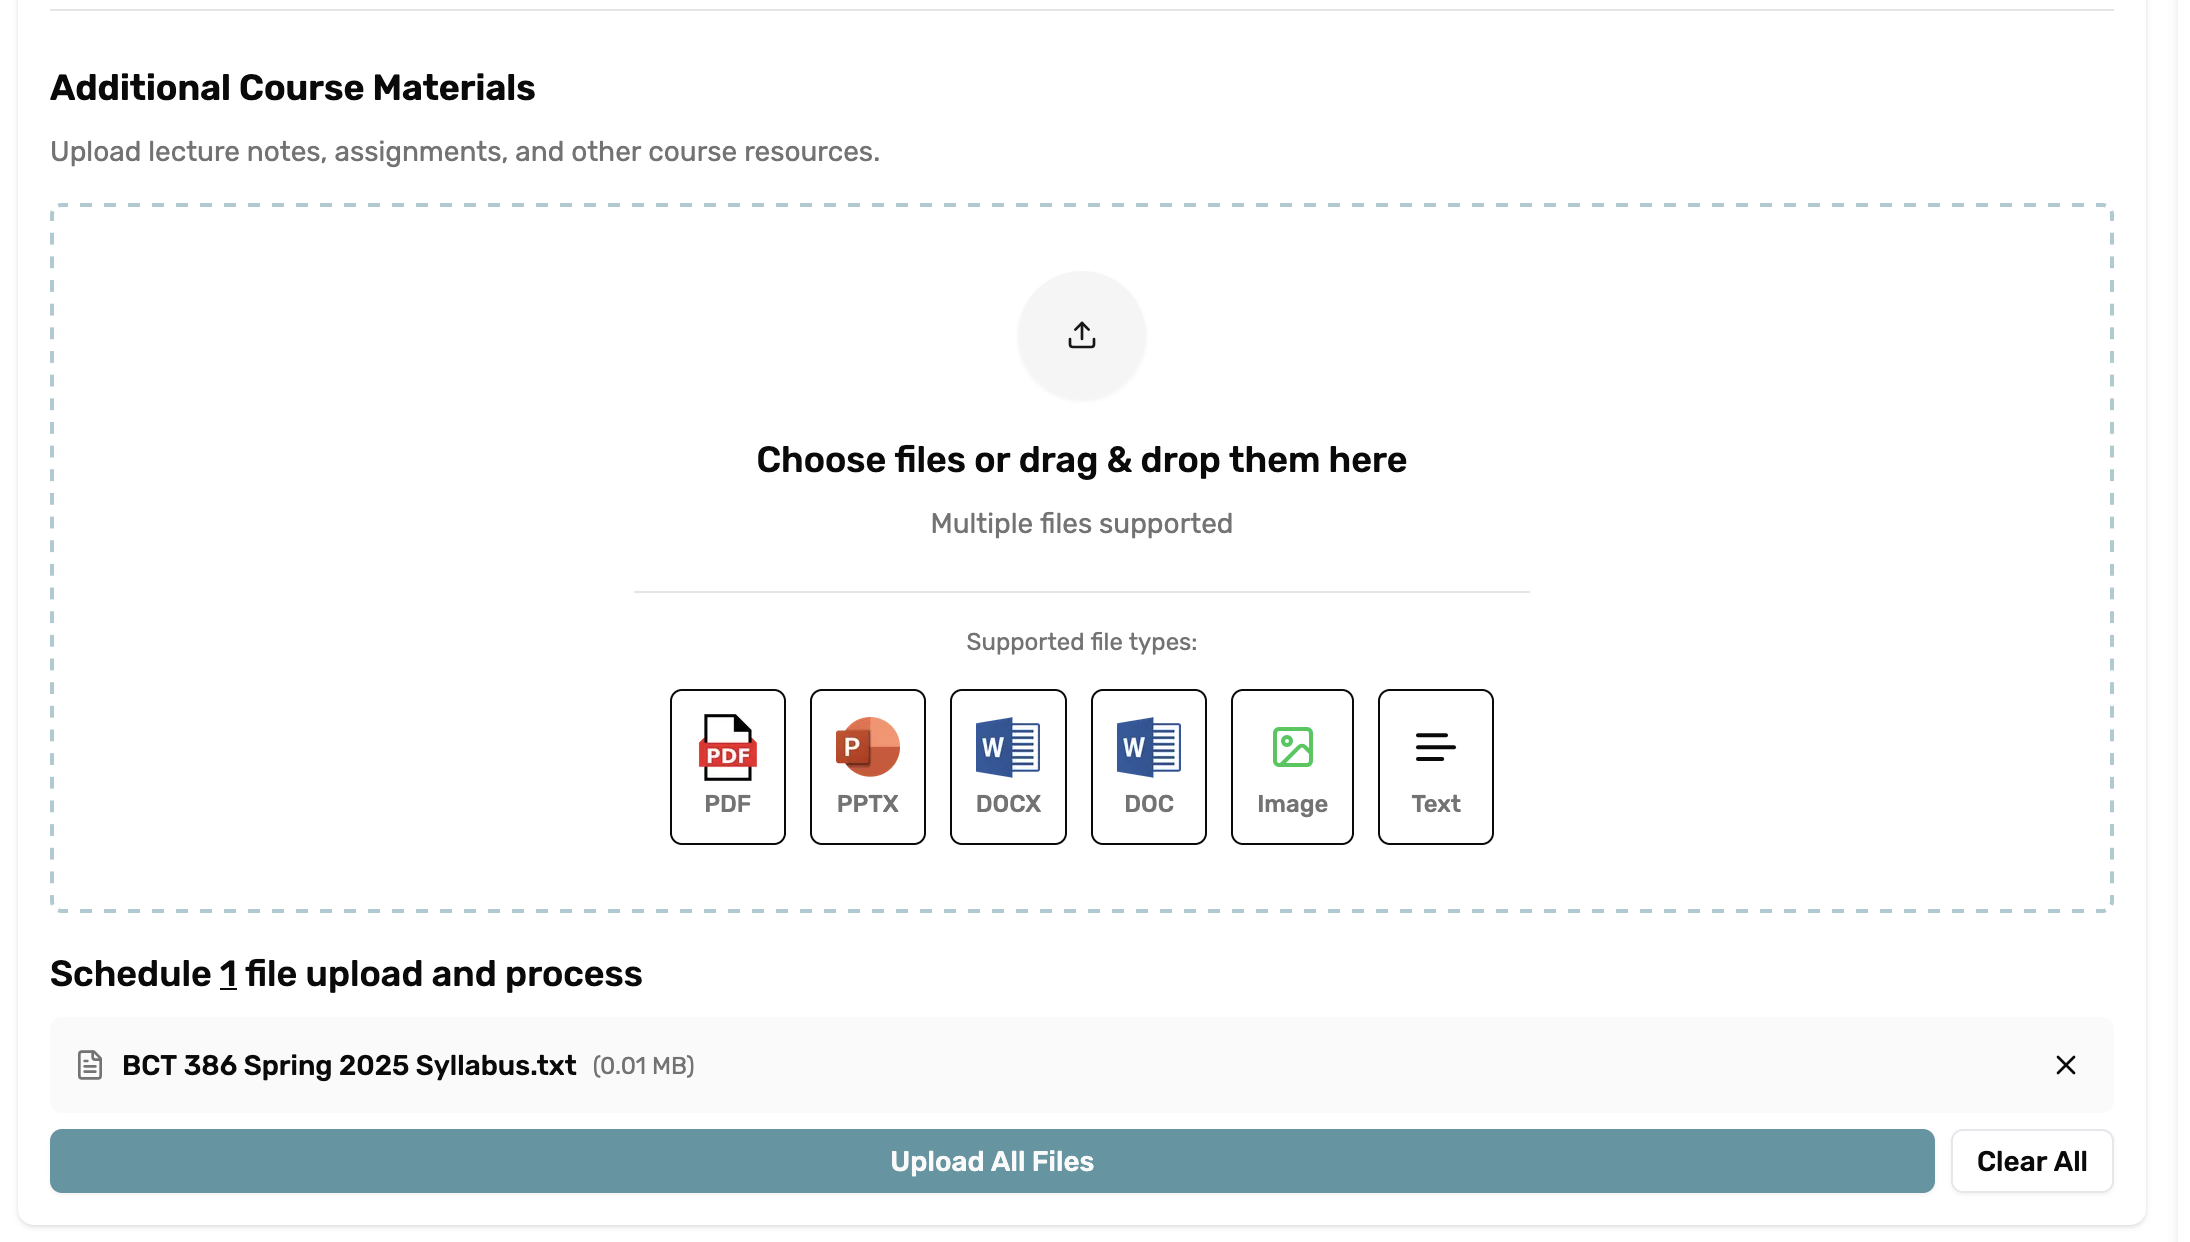
- Select Files: Choose the files you want to upload from your computer
- Upload: Click the upload button to start the process
Best Practices
- Organize Your Files: Use clear, descriptive filenames
- Check File Sizes: Ensure files meet the platform requirements
- Preview Before Publishing: Review uploaded content before making it available to students
Common Upload Types
Please read our formats page to see the supported document.
Required Course Documents
MagnoliaEd requires certain essential documents to be uploaded before you can add other course materials. These requirement elements ensure that students have access to fundamental course information from the beginning.
Understanding Requirement Elements
Requirement elements are marked with a “Required” badge and must be completed before proceeding with other uploads. These elements include:
Course Syllabus
- Purpose: Provides students with course objectives, policies, and expectations
- File Types: PDF, DOC, DOCX
- Requirements: Must be uploaded at the start of each course
- Content Should Include:
- Course description and learning objectives
- Grading policies and assessment criteria
- Attendance and participation requirements
- Course schedule and important dates
- Required textbooks and materials
Class Schedule
- Purpose: Outlines the timeline and structure of course sessions
- File Types: PDF, DOC, DOCX
- Requirements: Must be uploaded before adding other course materials
- Content Should Include:
- Weekly session topics and dates
- Assignment due dates
- Exam schedules
- Holiday breaks and make-up sessions
- Office hours and contact information
Uploading Required Documents
- Access the Uploads Management: Navigate to your course dashboard and select “Uploads Management”
- Locate Required Elements: Look for the “Required Course Documents” section at the top
- Upload Files: Click on each requirement element or drag and drop files into the designated areas
- Verify Upload: Ensure both required documents are successfully uploaded before proceeding
- Status Confirmation: The “Required” badge will disappear once all mandatory documents are uploaded
Important Notes
- Blocking Behavior: You cannot upload other course materials until these required documents are submitted
- File Format Validation: Only PDF, DOC, and DOCX formats are accepted for required documents
- Update Capability: You can update these documents at any time during the course
- Student Access: Required documents are automatically made available to all enrolled students
Troubleshooting Required Uploads
If you’re having trouble with required document uploads:
- Check File Format: Ensure your files are in PDF, DOC, or DOCX format
- Verify File Size: Confirm files meet the platform size requirements
- Clear File Names: Use descriptive filenames (e.g., “ENG101_Syllabus_Fall2025.pdf”)
- Browser Issues: Try refreshing the page or using a different browser
- Contact Support: If problems persist, reach out to technical support with your course details
Next Steps
- Learn about supported file formats
- Understand file size limitations
- Troubleshoot common upload issues
Need Help?
If you encounter any issues during the upload process, please refer to our troubleshooting guide or contact technical support.